Bandwidth Manager#
For GigE and USB cameras
Purpose and scope#
The Bandwidth Manager is available for Allied Vision GigE and USB cameras and their transport layers provided with Vimba X.
It is intended mainly for multi-camera applications, but you can also use it for a single camera. You can use the Bandwidth Manager as a starting point for best possible bandwidth allocation. The exact values for your use case depend on the camera settings, whether or not an image is displayed, and of course your hardware.
First steps#
The Bandwidth Manager is accessible from the Vimba X Viewer main window:
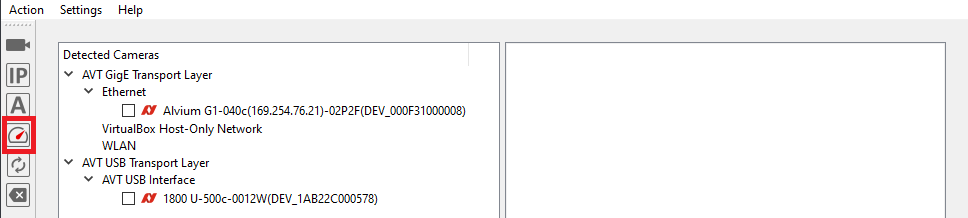
Open Bandwidth Manager#
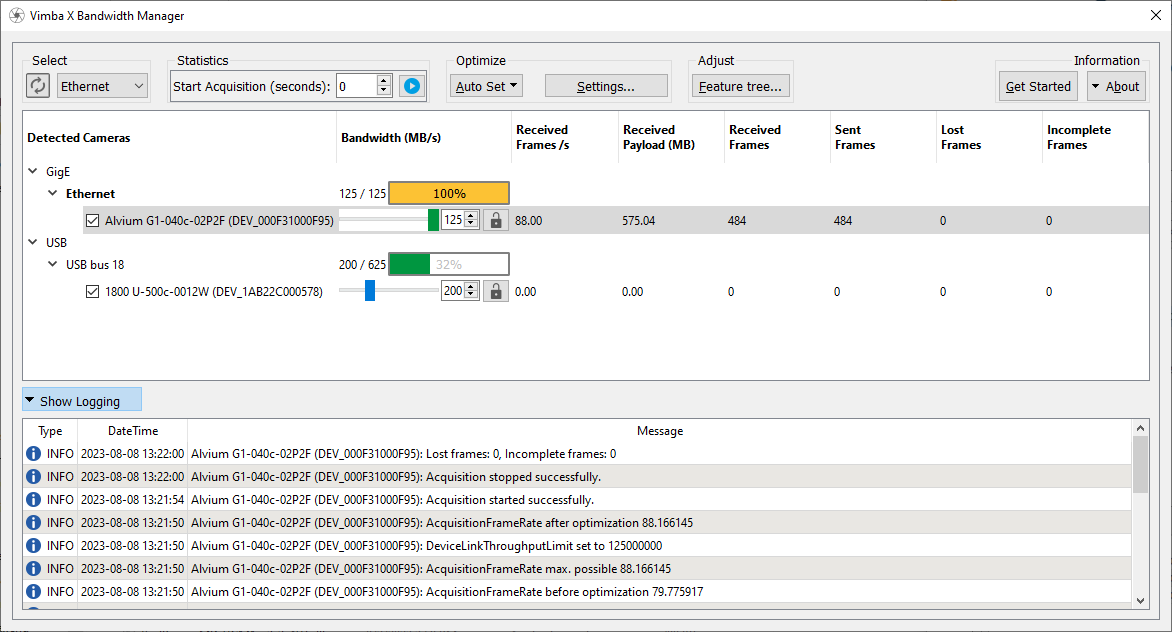
Bandwidth Manager#
Tip
Use the tooltips to get quick information about the functionality.
First, select the interface whose bandwidth you want to manage:
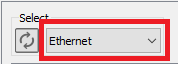
Select the interface#
Tip
You cannot select multiple interfaces, each interface requires a separate bandwidth management.
Start image acquisition to obtain statistics. Optionally, enter enter a value for the duration of the image acquisition. If you entered a value, a countdown is shown.

Start acquiring images and statistics#
With the slider or by entering a value, you can change the bandwidth of each selected and unlocked camera manually and observe in the statistics if frames got lost or are incomplete.
Alvium and Goldeye cameras: DeviceLinkThroughputLimit determines the camera bandwidth.
Other Allied Vision cameras: StreamBytesPerSecond determines the camera bandwidth.
Note that for a consistent appearance each slider has the same length, but each camera may have different min and max values. The lowest possible value of a slider represents the lowest possible value of its camera and not zero:
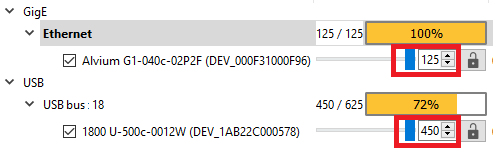
Slider - min and max camera value#
Please also note that the displayed values are rounded.
To exclude a camera from the statistics collection, uncheck it.
Note
Changing the throughput limit may affect sensor timings like line time, jitter, and exposure start delay. Please consider this if your use case has special timing requirements.
Note that the displayed maximal value of the interface represents the value reported by the system, not the available bandwidth for camera images.
The value of the interface bandwidth cannot exceed 100%. Therefore, 100% can be displayed either yellow or red. The color representing the interface bandwidth also depends on the safety margins in the Auto Set settings (see next section below). Green or yellow color indicates that the interface bandwidth is within the safety margins.

Interface bandwidth - max 100%#
Automatic bandwidth optimization#
Click Auto Set to let Bandwidth Manager optimize the bandwidth for the selected interface or for cameras on the selected interface. The resulting values are calculated from bandwidth relevant features (for example, frame rate and pixel format).

Auto set for interface or camera#
The Auto Set algorithm allocates available bandwidth evenly between all cameras on the selected interface regardless of their maximum possible values. You can manually apply a different value with the slider or by entering the desired value and exclude these cameras from Auto Set by locking them.
If you want to prioritize a camera, adjust its bandwidth manually and then click the Lock icon.
Note
To prevent lost frames, the calculated bandwidth includes a safety margin.
Click Settings… to ajdust Auto Set. Note that the Settings only apply to the Auto Set procedure. Without clicking Auto Set, the Settings dialog has no effect.
Interface margin: The margin is substracted from the available interface bandwidth.
Camera margin: The required bandwidth is calculated and after that the camera safety margin is added to make sure that enough bandwidth is assigned.
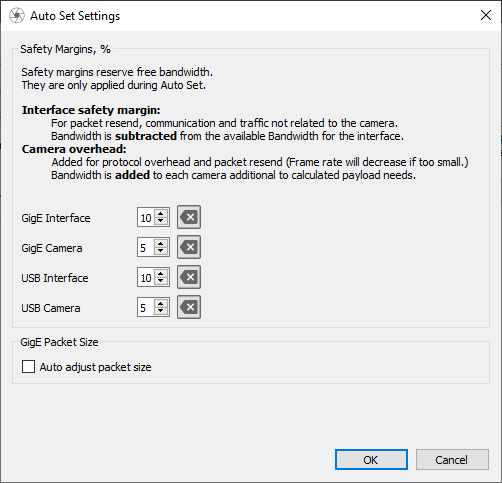
Settings to customize Auto Set#
To access the Feature Tree, select the camera whose features you want to access.

Feature tree#
To access all features, uncheck Show only bandwidth related features.
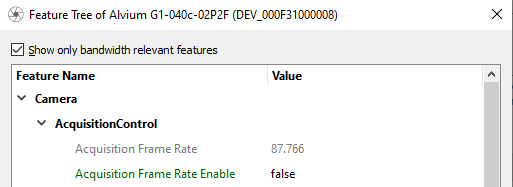
Features#
Troubleshooting#
Troubleshooting:
For best possible performance, the camera list is not updated automatically. To update the camera list, click Refresh camera tree. We recommend connecting all cameras before using Bandwidth Manager. If a camera is grayed out after refreshing, please wait a few seconds and then refresh again.
For the recommended hardware setup, read the User Guide for your camera.
Click Show Logging to expand the logging window.
Note that the Bandwidth Manager can provide a good starting point, but the best possible settings always depend on your use case.